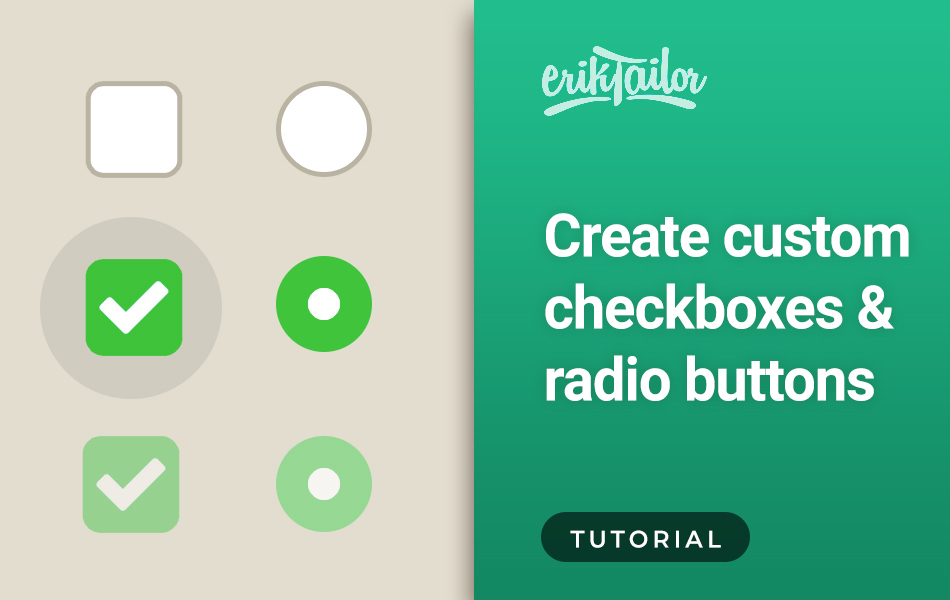
Create custom checkboxes and radio buttons

In this tutorial I will show you how to create customized checkboxes and radios instead of the browser's default ones.
Html
We need to achieve this markup:
<label class="et-checkbox">
    <input type="checkbox" />
    <span class="checkmark"></span>
    Checkbox text
</label>
Scss
Add this into your .scss file and change the $variables inside to real values:
.et-checkbox {
    position: relative;
    padding-left: 30px;
    margin-bottom: 10px;
    display: block !important;
    line-height: 20px;
    cursor: pointer;
    font-size: 18px;
    -webkit-user-select: none;
    -moz-user-select: none;
    -ms-user-select: none;
    user-select: none;
    input {
        position: absolute;
        opacity: 0;
        cursor: pointer;
        height: 0;
        width: 0;
        &:checked ~ .checkmark {
            background-color: $primary;
            border: 0 !important;
            &:after {
                display: block;
            }
        }
    }
    .checkmark {
        position: absolute;
        top: 0;
        left: 0;
        height: 20px;
        width: 20px;
        border-radius: 4px;
        background: $white;
        border: 1px solid lighten($text, 25%);
        &:after {
            content: "";
            position: absolute;
            display: none;
            left: 8px;
            top: 4px;
            width: 5px;
            height: 10px;
            border: solid $white;
            border-width: 0 2px 2px 0;
            -webkit-transform: rotate(45deg);
            -ms-transform: rotate(45deg);
            transform: rotate(45deg);
        }
    }
    &.et-radio {
        line-height: 23px;
        .checkmark {
            border-radius: 50%;
            width: 22px;
            height: 22px;
            &:after {
                top: 7px;
                left: 7px;
                width: 8px;
                height: 8px;
                border-radius: 50%;
                background: $white;
            }
        }
    }
}
Elementor
If you are using Elementor WordPress plugin to build your website, you need to change a few things in the default checkbox markup with jQuery.
Add this to your javascript file:
// Checkbox input customization
$('input[type="checkbox"], input[type="radio"]').each(function () {
    $(this).add($(this).next("label")).wrapAll('<label class="et-checkbox"></label>');
    $(this).after($(this).next("label").text());
    $(this).next("label").remove();
    $(this).after('<span class="checkmark"></span>');
    if ($(this).is(":radio")) {
        $(this).parent(".et-checkbox").addClass("et-radio");
    }
});
